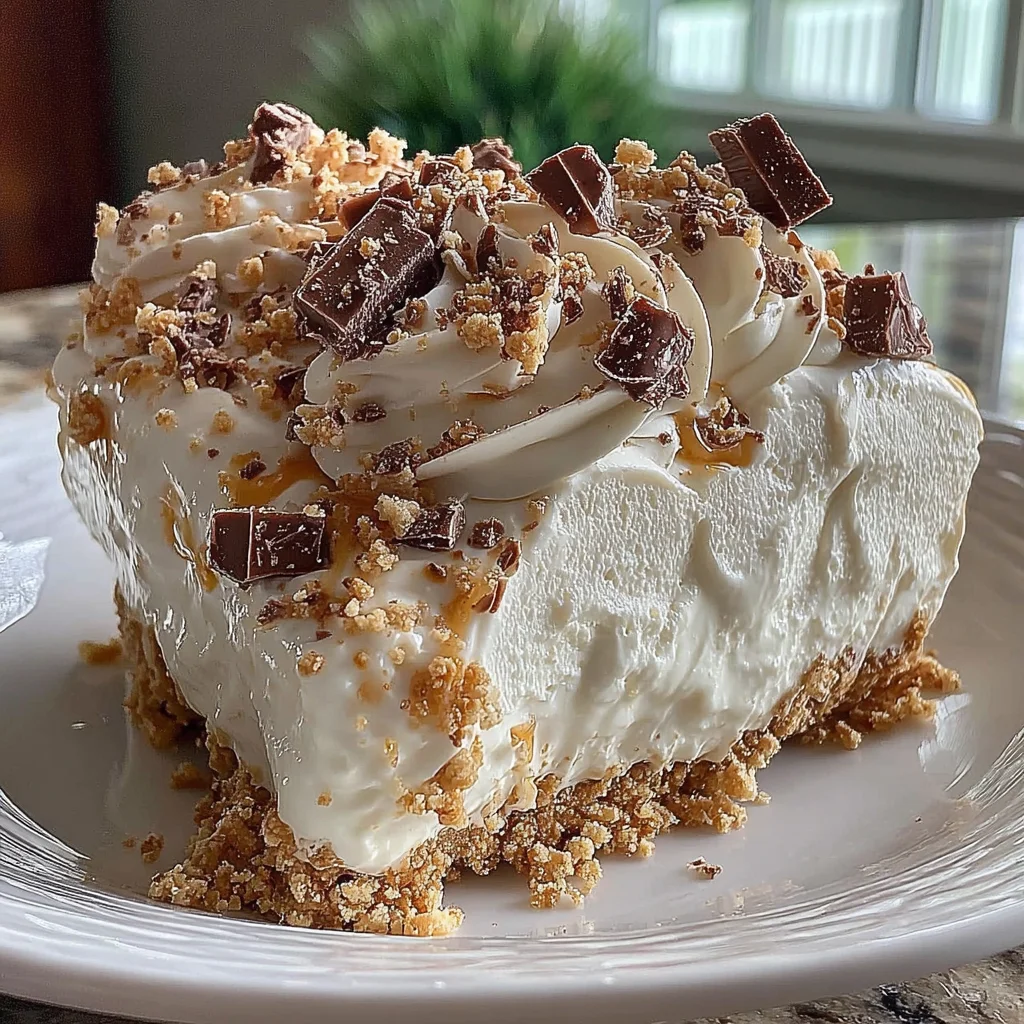
Ingredients
Equipment
Method
Step 1: Preparation and Thawing
- Ensure the whipped topping (Cool Whip) has been completely thawed. This process should ideally be done overnight in the refrigerator until the topping is soft and homogenous.
- Line an 8x8 inch baking pan with parchment paper, ensuring the paper hangs over the sides to create a removal 'sling.' Lightly grease the parchment paper with non-stick cooking spray if desired.
Step 2: Combining the Base Ingredients
- In a large mixing bowl, gently combine the thawed whipped topping, vanilla extract, and the small pinch of salt. Mix slowly using a spatula or hand mixer on low speed until just combined. Avoid overmixing.
- Begin adding the 4 cups of confectioners' sugar, one cup at a time. Use a sturdy spoon or spatula to incorporate the sugar thoroughly. Continue mixing until the consistency resembles extremely stiff cookie dough or thick clay. You must reach this level of firmness for the candy to set properly.
Step 3: Chilling and Setting
- Transfer the thickened candy mixture into the prepared 8x8 inch pan. Use the back of a spoon or a slightly dampened spatula to press the mixture firmly and evenly into the pan, ensuring the surface is flat and uniform.
- Cover the pan tightly and place it into the refrigerator. Chill for a minimum of 4 hours. For the best results and easiest cutting, chill the mixture overnight (10 to 12 hours).
Step 4: Cutting and Coating
- Once completely firm, lift the candy block out of the pan using the parchment paper sling and place it onto a clean cutting board. Cut the block into small, bite-sized squares (1 inch by 1 inch is standard).
- Pour the extra confectioners' sugar onto a shallow plate. Take each cut square or rolled ball and gently toss it in the sugar until all sides are evenly coated. Tap off any excess sugar. If using optional coatings, roll the pieces immediately after shaping.
Step 5: Storage
- Place the finished candies onto a plate or baking sheet lined with wax paper. Store the candy in an airtight container in the refrigerator to maintain its shape and texture. It will last for up to 10 days.
Notes
The extended chilling period (overnight) is crucial for this recipe. If the mixture is still too soft after chilling, you may need to add a small amount of extra sifted confectioners' sugar to the mixture, knead it lightly, and chill again before cutting. If you prefer rounded candies, dust your hands with sugar before rolling the portions into balls.
