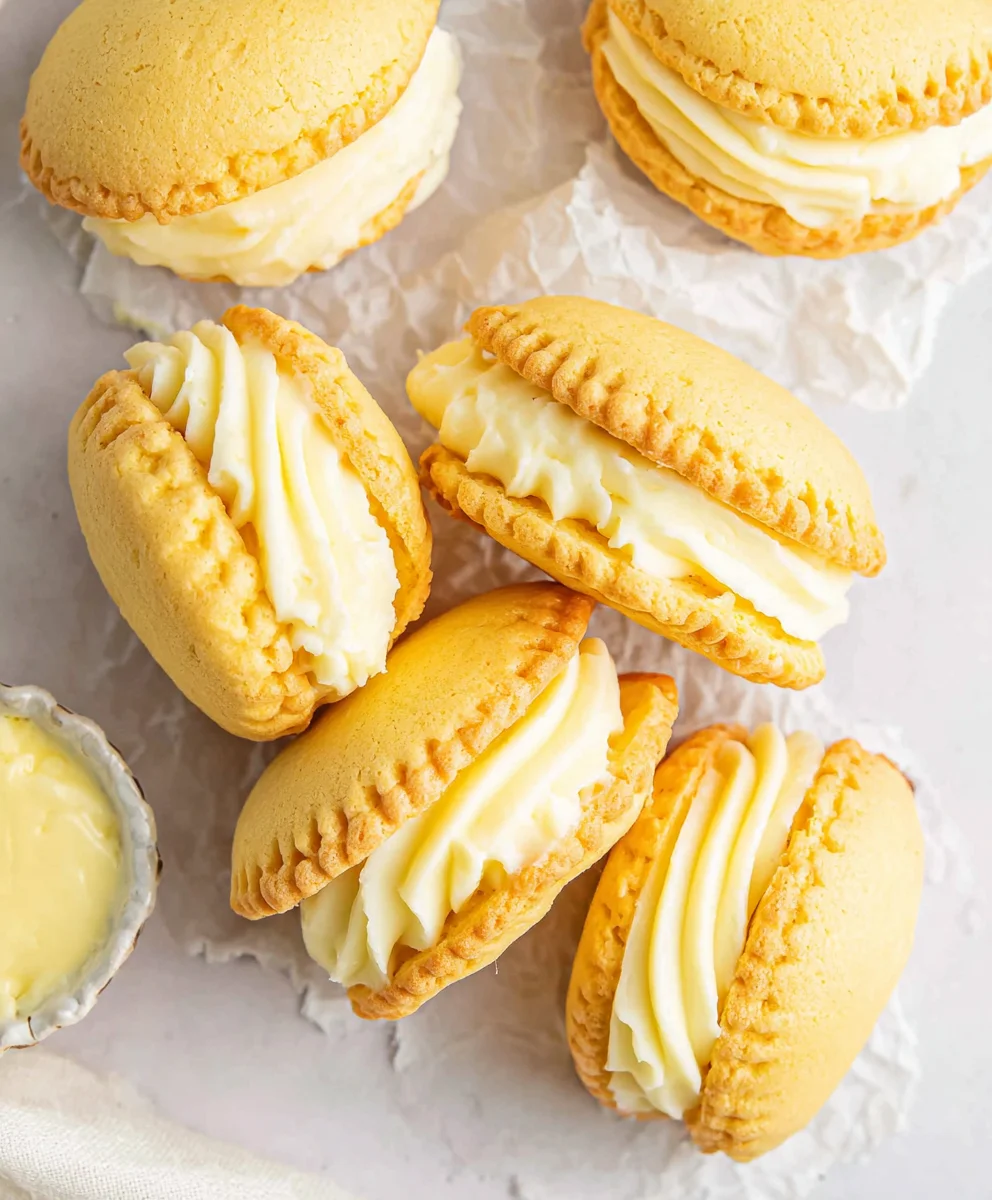
Welcome to the delightful world of Melting Moments, where every bite feels like a gentle hug of flavor and texture. These cookies are a beloved treat that effortlessly melt in your mouth, offering a sweet escape from the ordinary. Whether you’re preparing for a special occasion or simply indulging in a well-deserved snack, Melting Moments are sure to become a favorite in your household. With their delicate crumb, rich buttery taste, and a hint of vanilla, they are more than just cookies; they’re a celebration of comfort and joy.
In this detailed recipe guide, we’ll walk through each step of creating these scrumptious cookies, revealing tips, variations, and nutritional benefits. So, roll up your sleeves and get ready to bake your way to a plate full of Melting Moments!
Why You’ll Love This Recipe
There are countless reasons to fall in love with Melting Moments. First and foremost, the texture is simply unbeatable. These cookies boast a light and airy structure that allows them to dissolve pleasantly in your mouth, making them a perfect companion for tea or coffee. The buttery flavor is enriched with a hint of vanilla, creating a delightful balance that appeals to both kids and adults alike.
Another reason to adore this recipe is its simplicity. With just a handful of common ingredients, you can whip up a batch in no time. The process is straightforward, making it an excellent choice for beginner bakers or those pressed for time. No complicated techniques or rare ingredients here just pure, simple baking magic.
The versatility of Melting Moments is also worth mentioning. Feel free to experiment! You can enhance the flavors with various extracts, add zesty citrus, or even incorporate chocolate chips for a twist. The possibilities are endless, ensuring that this cookie can cater to various taste preferences.
Lastly, Melting Moments are perfect for sharing. Bake a batch to gift to friends, family, or colleagues, or bring them to your next potluck. They are sure to impress everyone with their elegant appearance and mouthwatering flavor. So, gather your ingredients and let’s dive into this delightful recipe!
Why You Should Try This Recipe
This recipe for Melting Moments is not just about satisfying your sweet tooth; it’s about creating lasting memories. Baking can be a wonderful bonding experience, whether you’re sharing the kitchen with family or hosting a fun baking night with friends. As you mix, shape, and bake, you’ll fill your home with the warm, inviting aroma of freshly baked cookies, creating an atmosphere of joy and anticipation.
Moreover, Melting Moments are incredibly adaptable. If you’re looking to cater to dietary restrictions, this recipe can easily be modified. Want to make them gluten-free? Simply swap the all-purpose flour for a gluten-free blend. Craving a vegan option? Substitute the butter with coconut oil or vegan butter, and you’ll have equally delectable cookies that everyone can enjoy.
Another compelling reason to try this recipe is the health-conscious side of it. Although they are cookies, you can make slight adjustments to reduce the sugar or incorporate healthier alternatives. For example, using whole wheat flour or adding oats can enhance the nutritional profile without sacrificing flavor.
Finally, Melting Moments are about indulgence without guilt. With each bite, you’ll experience a delightful sensation that transports you to a place of nostalgia and comfort. The memories created around this simple recipe will last a lifetime. So, gather your loved ones and embark on this baking journey together!
Ingredients and Utensils Needed
Ingredients
- 1 cup (225g) unsalted butter, softened: This is the base of our cookie, providing richness and flavor.
- 2 cups (250g) all-purpose flour: The main structure of the cookies, allowing them to hold their shape while remaining soft.
- 1/2 cup (60g) cornstarch: This ingredient helps achieve that melt-in-your-mouth texture that defines Melting Moments.
- 1/2 cup (60g) icing sugar (powdered sugar): For sweetness and a fine texture.
- 1 teaspoon vanilla extract: Adds a lovely aromatic flavor that complements the buttery goodness.
- A pinch of salt: Balances the sweetness and enhances the overall flavor.
- 1/4 cup (60ml) milk (optional): Used to adjust the dough’s consistency if needed.
Recommended Utensils
- Mixing bowls: A large bowl for combining wet ingredients and a separate one for dry ingredients.
- Electric mixer: For creaming the butter and sugar together until light and fluffy.
- Sifter: To ensure a smooth and clump-free flour and cornstarch mixture.
- Baking sheet: A flat surface to bake your cookies on. Make sure it’s lined with parchment paper for easy removal.
- Spatula or wooden spoon: For mixing the dough thoroughly.
- Piping bag or cookie scoop: Optional tools for shaping the cookies with precision.
- Wire rack: For cooling the cookies evenly after baking.
Detailed Recipe Steps
Now that you have all your ingredients and tools ready, let’s dive into the detailed steps of making Melting Moments. Follow along carefully for the best results!
- Preheat the Oven: Start by preheating your oven to 350°F (175°C). This step is crucial as it ensures that your cookies bake evenly. While the oven is heating, line a baking sheet with parchment paper to prevent sticking.
- Cream the Butter and Sugar: In a large mixing bowl, combine the softened butter and icing sugar. Using an electric mixer, beat the mixture on medium speed until it becomes light and fluffy. This process usually takes about 3-5 minutes. The incorporation of air during this step is what gives your cookies that soft texture.
- Add Vanilla and Salt: Once your butter and sugar mixture is fluffy, add the vanilla extract and a pinch of salt. Mix again until thoroughly combined. The salt enhances the sweetness and balances the flavors.
- Sift the Dry Ingredients: In a separate bowl, sift together the all-purpose flour and cornstarch. Sifting is an important step to avoid lumps and ensure an even texture in your cookies. It also helps to aerate the flour, which contributes to the delicate crumb.
- Combine Wet and Dry Mixtures: Gradually add the flour mixture to the butter mixture. Stir gently with a spatula or wooden spoon until just combined. Be careful not to overmix, as this can lead to tough cookies. If the dough feels too crumbly, you can add milk one tablespoon at a time until the desired consistency is achieved. The dough should come together easily without being sticky.
- Shape the Cookies: Using a spoon or a piping bag, drop small mounds of dough onto the prepared baking sheet. Make sure to leave some space between each mound, as the cookies will spread while baking. A good rule of thumb is to place them about 1-2 inches apart.
- Bake: Place the baking sheet in the preheated oven and bake for 12-15 minutes. Keep an eye on the cookies; they should be lightly golden around the edges while the centers remain soft. This is key to achieving that melt-in-your-mouth experience.
- Cool the Cookies: Once baked, remove the cookies from the oven and allow them to cool on the baking sheet for a few minutes. This step prevents them from breaking apart when you transfer them. After a few minutes, gently transfer the cookies to a wire rack to cool completely.
- Dust with Icing Sugar: Once the cookies have cooled, you can dust the tops with additional icing sugar if desired. This step not only adds sweetness but also gives your Melting Moments a beautiful presentation.
Tips and Variations
Creating the perfect batch of Melting Moments is all about understanding your ingredients and techniques. Here are some tips to ensure your cookies turn out great every time, along with some fun variations to try!
Tips for Success
- Butter Temperature: Make sure your butter is softened but not melted. It should leave an imprint when you press it but still hold its shape. This helps in achieving the right texture.
- Measuring Flour: To avoid dense cookies, spoon the flour into your measuring cup and level it off with a knife instead of scooping directly from the bag.
- Don’t Overmix: Once you combine the dry ingredients with the wet, mix just until incorporated. Overmixing can lead to tougher cookies.
- Experiment with Flavors: Try adding different extracts like almond or lemon for a unique twist. You can also fold in chocolate chips, nuts, or dried fruit for added texture and flavor.
Variations to Try
- Vegan Melting Moments: Replace the butter with coconut oil or a vegan butter substitute. Ensure that your icing sugar is free from additives.
- Gluten-Free Version: Use a gluten-free all-purpose flour blend instead of regular flour. Make sure your cornstarch is also gluten-free.
- Chocolate-Dipped Melting Moments: Melt some dark or white chocolate and dip half of each cookie for an extra layer of indulgence.
- Citrus Melting Moments: Add the zest of an orange or lemon to the dough for a refreshing, zesty flavor.
Nutritional Values and Benefits
Understanding the nutritional values of Melting Moments can help you enjoy these cookies without guilt. Here’s a breakdown of the approximate nutritional values per cookie:
- Calories: 100
- Total Fat: 6g
- Saturated Fat: 4g
- Cholesterol: 15mg
- Sodium: 10mg
- Total Carbohydrates: 10g
- Dietary Fiber: 0g
- Sugars: 2g
- Protein: 1g
The key ingredients in Melting Moments offer various benefits:
- Butter: Provides essential fatty acids and vitamins A, D, E, and K.
- Flour: A source of carbohydrates, providing energy for your day.
- Cornstarch: Helps create a tender texture that’s easy on the digestive system.
- Icing Sugar: Sweetens the cookies without adding too many calories, especially when dusted lightly.
Frequently Asked Questions
What are Melting Moments cookies?
Melting Moments are soft, buttery cookies that dissolve in your mouth. They are made with a simple combination of butter, flour, cornstarch, and icing sugar, resulting in a delicate texture and rich flavor.
Can I make Melting Moments gluten-free?
Yes! You can easily make gluten-free Melting Moments by substituting all-purpose flour with a gluten-free flour blend. Just ensure that the cornstarch you use is also gluten-free.
How should I store Melting Moments cookies?
Store Melting Moments in an airtight container at room temperature for up to a week. You can also freeze them for longer storage; just make sure they are well-wrapped to prevent freezer burn.
Can I add flavors to Melting Moments?
Absolutely! You can add various flavors to Melting Moments by incorporating different extracts like almond or lemon zest. You can also mix in chocolate chips or nuts for added texture.
How do I know when Melting Moments are done baking?
Melting Moments are done baking when the edges are lightly golden, and the centers are still soft. They will firm up as they cool, so be careful not to overbake them.
Now that you have all the tips, variations, and answers to your questions, it’s time to get baking! Melting Moments are not just a cookie; they are a delightful experience waiting to be shared.
In conclusion, this recipe for Melting Moments is a timeless classic that deserves a place in every home. With their soft texture and rich flavor, they are sure to delight everyone who tries them. Don’t forget to share your creations with friends and family, and feel free to experiment with the recipe to make it your own!
If you enjoyed this recipe, please leave a comment below, share this article, and don’t hesitate to try out some of my other delicious recipes, such as Lentil Soup or Pumpkin Soup. Happy baking!
For more delicious recipes, check out my Pinterest page: Recipes Luna Blog.
Melting Moments
Ingredients
Equipment
Method
- Preheat your oven to 350°F (175°C) and line a baking sheet with parchment paper.
- In a large mixing bowl, cream together the softened butter and icing sugar until light and fluffy.
- Add the vanilla extract and a pinch of salt to the butter mixture, mixing well to combine.
- In a separate bowl, sift together the all-purpose flour and cornstarch.
- Gradually add the flour mixture to the butter mixture, stirring until just combined. If the dough is too crumbly, add milk one tablespoon at a time until the desired consistency is reached.
- Using a spoon or a piping bag, drop small mounds of dough onto the prepared baking sheet, leaving space between each mound to allow for spreading.
- Bake in the preheated oven for 12-15 minutes or until the edges are lightly golden. The centers should remain soft.
- Remove from the oven and allow to cool on the baking sheet for a few minutes before transferring to a wire rack to cool completely.
- Once cooled, you can dust the tops with additional icing sugar if desired.