If you’re a chocolate lover, then you’re in for a treat with these delectable Chocolate Pudding Pots. This rich, creamy dessert is the perfect way to satisfy your sweet tooth, whether it’s a special occasion or just a regular day that needs a little pick-me-up. Made with simple ingredients that you likely already have in your pantry, this recipe is quick and easy to whip up. Plus, the satisfaction of creating something so indulgent from scratch is hard to beat! Imagine digging into a silky smooth chocolate pudding that melts in your mouth – it’s pure bliss. This recipe is also quite versatile, allowing you to customize it with different toppings and mix-ins to suit your taste. Let’s dive into why you’ll love this recipe!
Why You’ll Love This Recipe
The Chocolate Pudding Pots recipe is not just any ordinary dessert; it’s a delightful experience that you can easily recreate at home. Here are several reasons why this recipe will become a staple in your dessert repertoire:
- Quick and Easy: With just a few simple steps, you can have a dessert ready in under 30 minutes, plus chilling time. Perfect for last-minute gatherings or a cozy night in!
- Rich Flavor: The combination of whole milk and unsweetened cocoa powder delivers a deep chocolate flavor that is both satisfying and indulgent.
- Customizable: You can easily tweak the recipe to suit your dietary needs or preferences. Want to make it vegan? Substitute with almond milk and a plant-based butter alternative.
- Presentation: The individual serving pots not only look elegant but also allow for creative garnishing, making them ideal for dinner parties or special occasions.
- Family-Friendly: This dessert is a hit with kids and adults alike. It’s a great way to introduce children to cooking and let them help you in the kitchen.
This Chocolate Pudding Pots recipe is sure to impress anyone who tries it. It’s simple enough for beginners, yet sophisticated enough for seasoned bakers. Plus, the joy of sharing a homemade dessert with friends and family is unparalleled!
Why You Should Try This Recipe
Whether you are a novice or an experienced chef, making Chocolate Pudding Pots is a rewarding experience. Here’s why you should give it a shot:
- Healthier than Store-Bought: Homemade pudding is often healthier than commercial options that can contain preservatives and artificial flavors. You control the ingredients and sweetness level.
- Perfect for Meal Prep: These pudding pots can be made ahead of time and stored in the fridge, making them a convenient option for dessert throughout the week.
- Budget-Friendly: Most of the ingredients are inexpensive and commonly found in your kitchen, making this a cost-effective dessert option.
- Fun for the Whole Family: Involving your kids in the kitchen can teach them valuable cooking skills and create fun family memories.
- Great for Any Occasion: Whether it’s a birthday, holiday, or simply a Tuesday night, these pudding pots can elevate any meal and bring joy to your dining table.
In short, if you’re looking for a dessert that is not only delicious but also easy to make and versatile, these Chocolate Pudding Pots are your answer. Let’s gather the ingredients!
Ingredients and Utensils Needed
Ingredients
- 2 cups whole milk
- 1/2 cup granulated sugar
- 1/3 cup unsweetened cocoa powder
- 1/4 cup cornstarch
- 1/4 teaspoon salt
- 1 teaspoon vanilla extract
- 2 tablespoons unsalted butter
- Whipped cream (for serving, optional)
- Chocolate shavings or sprinkles (for garnish, optional)
Recommended Utensils
- Medium saucepan: A sturdy saucepan will help evenly heat the pudding mixture without scorching.
- Whisk: Essential for mixing the dry ingredients and preventing lumps when adding the milk.
- Measuring cups and spoons: Accurate measurements are crucial for the best results.
- Spatula: Useful for scraping the sides of the saucepan and incorporating the butter and vanilla.
- Individual serving pots or bowls: These can be glass or ceramic and will present your pudding beautifully.
- Plastic wrap: To cover the pudding while it chills, preventing a skin from forming.
Now that we have everything we need, let’s get started on making our Chocolate Pudding Pots.
Detailed Recipe Steps
Follow these detailed steps to create your own delicious Chocolate Pudding Pots:
- Combine Dry Ingredients: In a medium saucepan, whisk together the granulated sugar, cocoa powder, cornstarch, and salt until well combined. This step ensures that all the dry ingredients are evenly distributed, which is crucial for a smooth pudding.
- Add Milk Gradually: Gradually add the whole milk to the dry mixture while whisking continuously. This will help prevent any lumps from forming, resulting in a silky smooth pudding. Be patient and keep whisking until all the milk is incorporated.
- Heat the Mixture: Place the saucepan over medium heat. Continue whisking the mixture consistently. As it heats up, you will notice it starting to thicken and bubble. This process should take about 5-7 minutes. Make sure to keep an eye on it to prevent burning.
- Remove from Heat: Once the pudding has thickened to your desired consistency, remove the saucepan from the heat. Stir in the vanilla extract and unsalted butter until the butter is fully melted and combined. This will add a rich, creamy texture to your pudding.
- Pour into Serving Pots: Carefully pour the pudding into individual serving pots or bowls. This is where you can get creative; you can use small mason jars for a rustic look or elegant ramekins for a fancy touch.
- Cool and Chill: Allow the pudding pots to cool slightly at room temperature. Once cooled, cover each pot with plastic wrap, ensuring the wrap touches the surface of the pudding to prevent a skin from forming. Refrigerate for at least 2 hours, or until fully chilled. This chilling time is what gives the pudding its perfect texture.
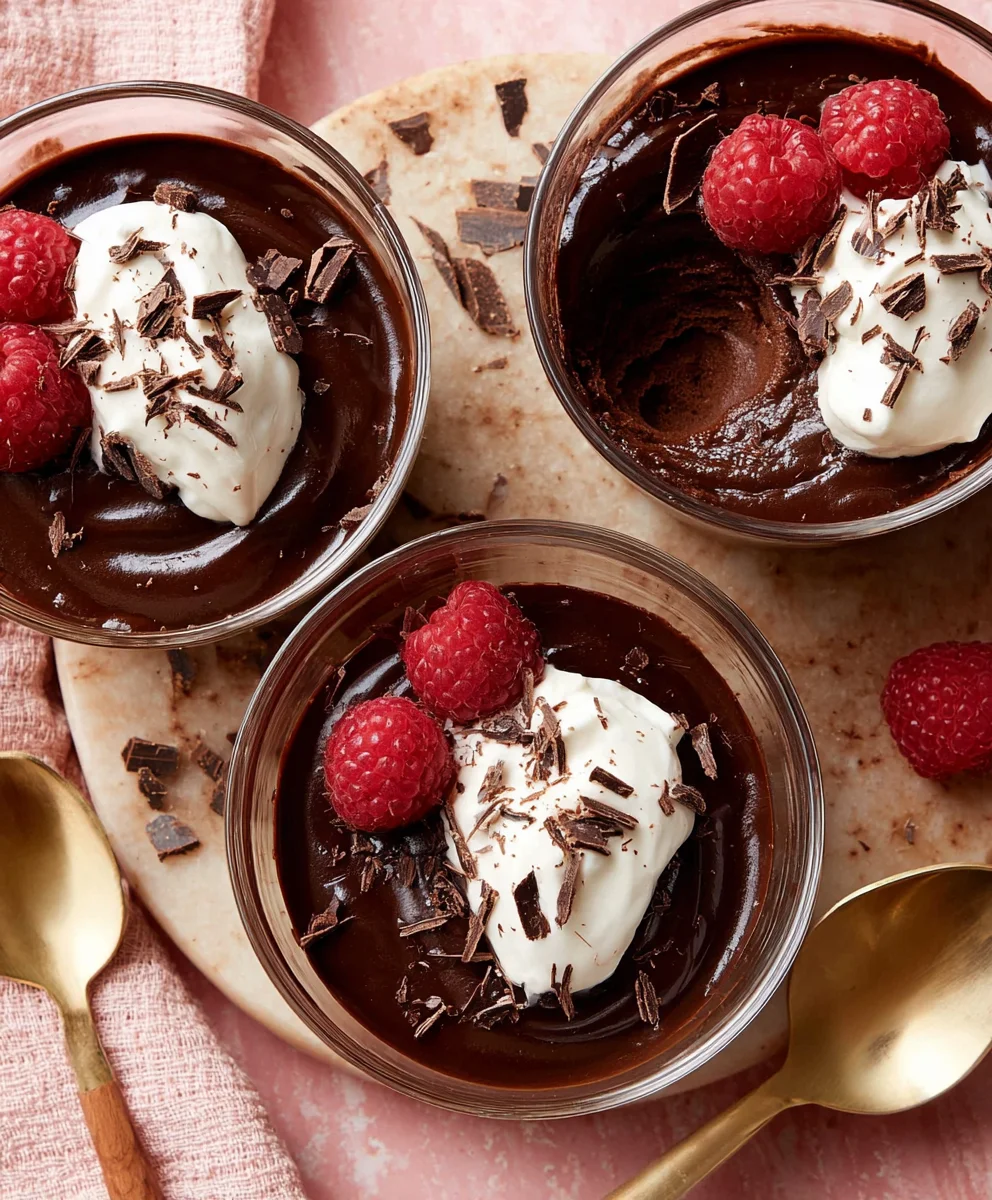
- Serve: Serve the Chocolate Pudding Pots chilled. Top with whipped cream and garnish with chocolate shavings or sprinkles if desired. This not only adds flavor but also makes your dessert visually appealing!
**Pro Tip:** For an extra touch of indulgence, consider adding a layer of crushed cookies or graham crackers at the bottom of the pots before pouring in the pudding. This will create a delightful texture contrast!
Tips and Variations
The beauty of this Chocolate Pudding Pots recipe lies in its versatility. Here are some tips and variations to customize your pudding:
- Vegan Option: Substitute whole milk with almond milk or coconut milk and use a plant-based butter alternative to make this recipe vegan-friendly.
- Gluten-Free: This recipe is naturally gluten-free due to the use of cornstarch. Just ensure that your cocoa powder and any toppings you use are also gluten-free.
- Flavor Variations: Experiment with different flavors by adding a tablespoon of peanut butter or almond extract to the pudding mixture for a unique twist.
- Fruit Additions: Top your pudding pots with fresh berries, bananas, or even a drizzle of caramel sauce for a delicious contrast.
- Storage Tips: Store your pudding pots in the refrigerator for up to 3-5 days. Just keep them covered to maintain freshness.
- Common Mistakes to Avoid: Make sure to whisk continuously while heating to avoid lumps. If your pudding is too thick, you can add a bit more milk and whisk until smooth.
With these tips and variations, you can make each batch of Chocolate Pudding Pots uniquely yours while still keeping that classic chocolate flavor that everyone loves!
Nutritional Values and Benefits
Here’s a breakdown of the nutritional information for each serving of Chocolate Pudding Pots (based on 4 servings):
- Calories: 250
- Total Fat: 8g
- Saturated Fat: 5g
- Cholesterol: 20mg
- Sodium: 150mg
- Total Carbohydrates: 39g
- Dietary Fiber: 2g
- Sugars: 24g
- Protein: 5g
**Health Benefits:**
- Cocoa Powder: Rich in antioxidants, cocoa can improve heart health and enhance mood.
- Milk: Provides essential nutrients like calcium and vitamin D, which are important for bone health.
- Butter: Adds flavor and richness, and when used in moderation, can be a part of a balanced diet.
Enjoying desserts like Chocolate Pudding Pots in moderation can be part of a healthy lifestyle, especially when made with wholesome ingredients.
Frequently Asked Questions
What can I use instead of cornstarch in Chocolate Pudding Pots?
You can use arrowroot powder or tapioca starch as a substitute for cornstarch in Chocolate Pudding Pots. Both will help thicken the pudding effectively.
Can I make Chocolate Pudding Pots in advance?
Absolutely! Chocolate Pudding Pots can be made up to 3 days in advance and stored in the refrigerator. Just cover them well to prevent a skin from forming.
Can I freeze Chocolate Pudding Pots?
While it’s technically possible to freeze Chocolate Pudding Pots, the texture may change once thawed. For the best consistency, it’s recommended to enjoy them fresh or chilled.
How do I prevent my chocolate pudding from getting lumpy?
To prevent lumps in your Chocolate Pudding Pots, whisk the dry ingredients thoroughly before adding milk, and add the milk gradually while stirring constantly.
What toppings go well with Chocolate Pudding Pots?
Some great toppings for Chocolate Pudding Pots include whipped cream, chocolate shavings, sprinkles, fresh fruit, or crushed cookies for added texture and flavor.
In conclusion, making Chocolate Pudding Pots is not only a delightful experience but also a great way to treat yourself and your loved ones. With simple ingredients and straightforward steps, you can create a rich, creamy dessert that is sure to impress. Remember to experiment with different toppings and flavors to make this recipe your own. If you enjoyed this article, please leave a comment or share it with friends and family. Happy cooking!
For more delicious recipes, check out our other favorites like Lentil Soup and Pumpkin Soup. And don’t forget to visit our Pinterest page for more inspiration: Recipes Luna Blog on Pinterest.
Chocolate Pudding Pots
Ingredients
Equipment
Method
- In a medium saucepan, whisk together the granulated sugar, cocoa powder, cornstarch, and salt until well combined.
- Gradually add the whole milk to the dry ingredients, whisking continuously to prevent lumps from forming.
- Place the saucepan over medium heat and continue to whisk the mixture until it begins to thicken and bubble. This should take about 5-7 minutes.
- Once the pudding thickens, remove the saucepan from the heat. Stir in the vanilla extract and unsalted butter until the butter is fully melted and incorporated.
- Pour the pudding into individual serving pots or bowls. Allow them to cool slightly at room temperature before covering each pot with plastic wrap. Make sure the plastic wrap touches the surface of the pudding to prevent a skin from forming.
- Refrigerate the pudding pots for at least 2 hours, or until fully chilled.
- Serve the chocolate pudding pots chilled, topped with whipped cream and garnished with chocolate shavings or sprinkles if desired.